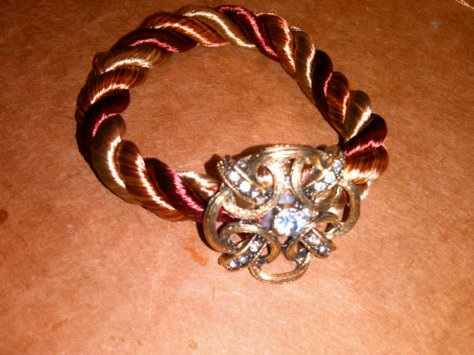
Check out these easy to make and absolutely beautiful DIY napkin rings from Anna Cotton! We love how they coordinate with our new table cloths, and we know they’ll add to your next table-scape too!
A few 3P Ideas: Our brand new festive napkin rings in action!
– Fold a napkin into a “bow” using your napkin ring in the middle. This creates a little table-love that screams “Valentine’s Day!”

(Photo by: Jessi Meehan)
– Gather napkin from the middle and pull through napkin ring for a more full and fluffed look. This look is totally “Christmas!” or “Awards Party”, and this styled napkin is create for adding fullness to your table for any occasion.

(Photo by: Jessi Meehan)
– Or…roll your napkin into a neat cylinder, and bind with your napkin ring for more minimalist feel. This creates a classic and clean look for everyday!

(Photo by: Jessi Meehan)
And without further ado…here’s how to make them! (You can also view Anna’s instructions directly from her site HERE.)
Materials Needed:
– 54″ of rope (for 8, calculate 6.5″ of rope per ring and add a couple of inches)
– 8 medallions, beads or buttons (one per ring)
– Hot glue gun
– Needle
– Heavy thread
– Scissors
Note: When no finishing is added to the end of the rope, it unravels quickly.
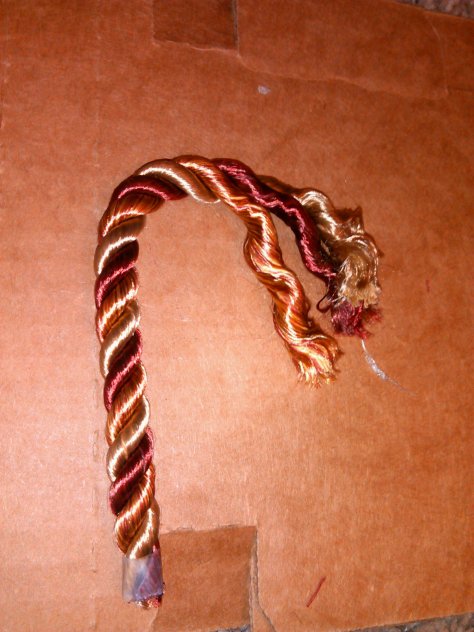
(Photo by: Anna Cotton)
Typically when a length of rope is cut in the store, tape is applied to the cutting line and then it is cut through the middle of the tape, leaving both ends bound in tape.
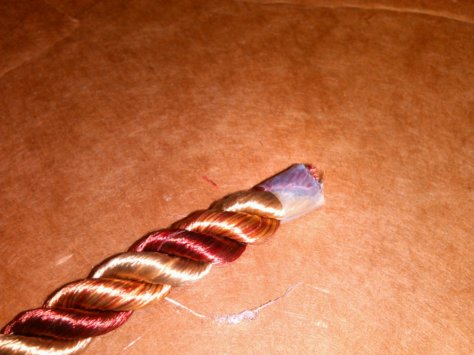
(Photo by: Anna Cotton)
For this project, a “quick stitch binding” is applied to the rope so it doesn’t fray. For best results, use a heavy top stitch or upholstery thread. Thread needle and knot end. Insert the needle through the center of the rope (as shown).
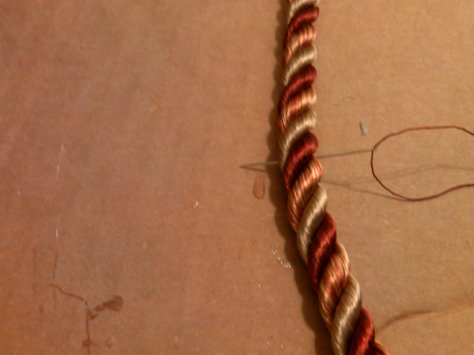
(Photo by: Anna Cotton)
Bring thread over the top of the rope and go through the center of the rope again. Bring thread under rope this time and go through center. Next, wrap thread around rope three time pulling it tight. Make sure loops stay on top of existing stitches. Bring thread through center of rope one more time and tie off.
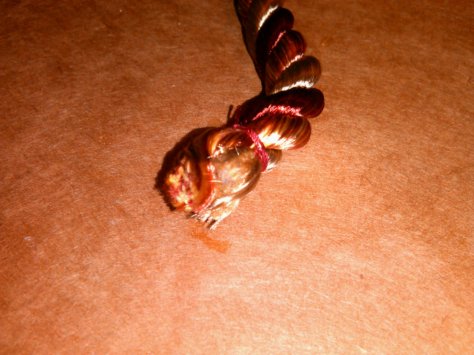
(Photo by: Anna Cotton)
For the napkin rings, 6.5″ sections off rope are used. Finish end as described. Measure length needed and apply wrapped finish just before the cut line. Apply second wrapped finish just after cut line.
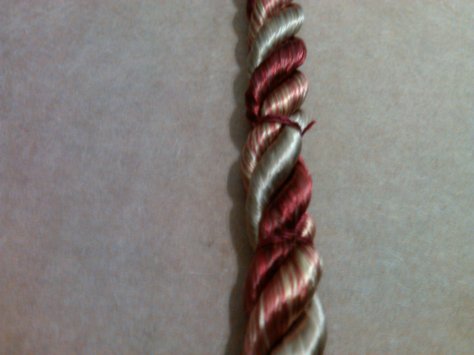
(Photo by: Anna Cotton)
Cut rope between finished sections.
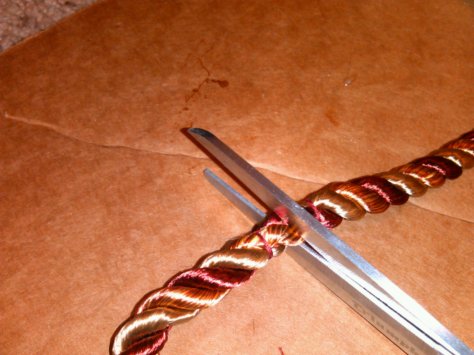
(Photo by: Anna Cotton)
Use hot glue gun to glue the ends together.
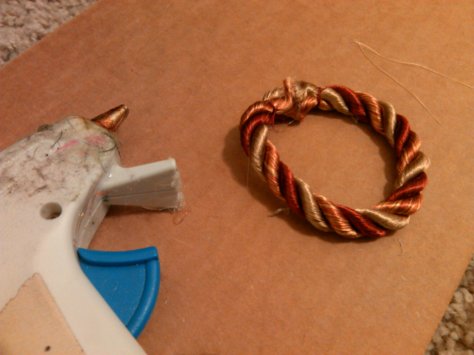
(Photo by: Anna Cotton)
Put glue on the back of medallion or button and press joined portion of the rope to the back.
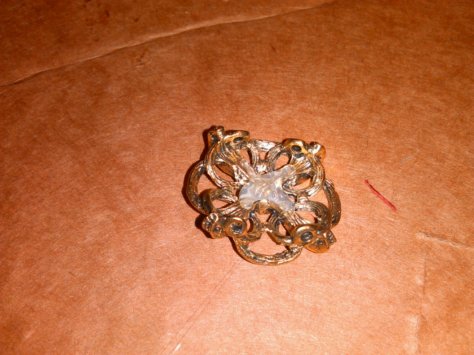
(Photo by: Anna Cotton)
When glue cools, check to make sure medallion is secure.
That’s it, repeat for each ring! Easy and beautiful.




Like this idea fast easy and inexpensive
Thank you, Betty Jo! Anna is so creative and we really loved her idea too. If you end up making a few of these, let me know how they turn out! Hope you have a great week. 🙂